Roses are a classic and timeless subject for artists of all skill levels.
They offer a wide range of colors and textures that can be used to create stunning drawings.
In this article, we will take a step-by-step approach to show you how to draw a rose step by step.
Whether you’re a beginner or an experienced artist, this guide will help you create a realistic and detailed rose that you can be proud of. So grab your pencils and paper, and let’s get started on drawing the perfect rose.
For more drawing videos, you can visit my youtube channel: Easy Drawings.
In this easy-to-follow drawing tutorial, I will guide you step-by-step on how to draw a beautiful rose with minimal effort.
How to draw a rose step by step
In this straightforward guide, I will demonstrate the simplest method for drawing a rose. With the help of these ten clear steps, even a novice artist can successfully create a beautiful rose drawing.
All you need to get started is a pencil or marker and a sheet of paper. Once your drawing is complete, you can add color using colored pencils, paints, or markers to enhance the final result.
- Step 1

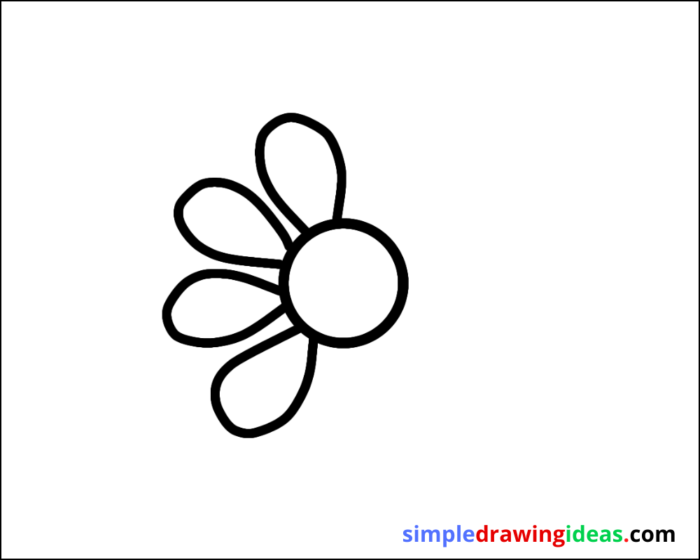
Start by drawing the basic shape of the rose. This can be done by sketching an oval shape for the center of the rose and a series of curved lines that extend outwards to form the petals.
- Step 2

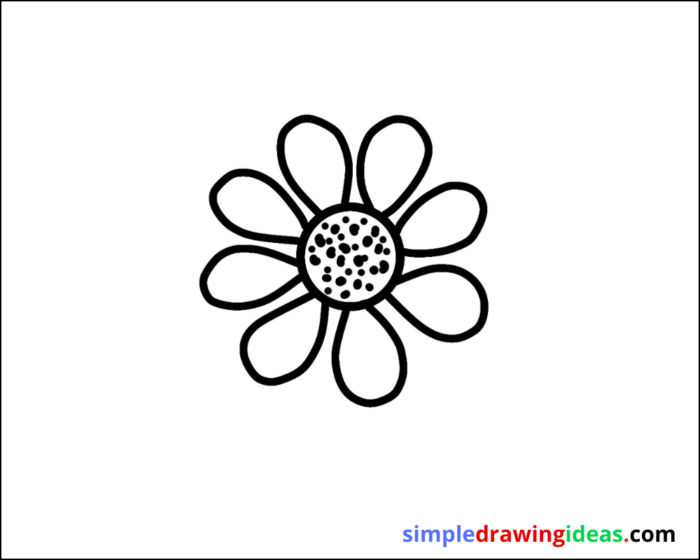
Next, add details to the center of the rose by sketching small circles to represent the individual stamens.
-
Step 3

Once you have the basic shape of the rose petals, it’s time to add more details. To depict the outer edges of the petals, use curved lines to give the petals a more ruffled or frilly appearance. You can also use a series of “V” shapes or small curved lines to create a textured look.
Continue to add details to the petals, using lines and shapes to create the appearance of depth and realism. Remember to pay attention to the direction of the petals, as they should all flow in the same direction.
To enhance the realism of your rose, you can use a pencil eraser to lightly blend the pencil strokes together. This will help to create a smooth, realistic texture for the petals.
You can also add some shadows and highlights to the petals to give them more depth and dimension. Use a pencil to create shadows along the edges of the petals, and use an eraser to add highlights to the center of the petals.
Once you have finished adding details to the petals, you can move on to the next step of coloring your rose.
Keep in mind that this is a basic guide and you can add as much as you want to make it look more realistic or abstract.
-
Step 4

Once the center of the rose is complete, begin adding details to the petals. Use curved lines to create the appearance of texture and depth.Draw a long stem with a couple of long lines.
- Step 5

To add more detail to the stem, you can draw small, thin twigs on the sides. Start by sketching a thin, curved line that extends out from the main stem. Then, add small branches extending outwards from the twig. Make sure to keep the twigs and branches thin and delicate-looking to give the rose a more natural appearance.
- Step 6

To finish the twigs, you can add small leaves. Sketch small, pointed ovals or teardrop shapes at the end of the branches.
You can add some details to the leaves like veins, the final touch to the twigs and branches will give your rose a more authentic look.
If you want to add more depth to the stem, you can use shading techniques. Use a pencil to add shadows along the edges of the stem and twigs, and use an eraser to blend the pencil marks together.
Finally, you can color the rose as desired.
- Step 7

Finally, it’s time to bring your rose drawing to life by adding color. You can use colored pencils, markers, or paint to color your rose in any way you like. Feel free to experiment with different color combinations and shading techniques to create a unique look. Whether you choose traditional red and pink hues or opt for a more unconventional color scheme, the choice is yours. So have fun, and happy coloring!
Rose drawing guide
Drawing a rose can be a fun and rewarding activity for children of all ages. When teaching kids how to draw a rose, it’s important to keep the instructions simple and easy to follow. A step-by-step approach with clear illustrations can help guide children through the process.
It’s also helpful to use simple shapes such as circles, ovals, and curved lines when teaching kids how to draw a rose. This allows them to focus on the basic shapes and structure of the rose before adding more details. Additionally, encouraging children to use their imagination and personalize their drawings can make the process more enjoyable for them.
It’s also important to keep in mind that kids learn and progress at different rates, so be patient and encouraging. And always remind them that there’s no such thing as a mistake in art, just an opportunity to try something new. With some guidance, patience, and practice, children can learn how to draw a rose easily and have fun with the process.
Conclusion
In conclusion, drawing a rose can be a fun and rewarding activity for children of all ages. By keeping the instructions simple and easy to follow, using basic shapes, and encouraging children to use their imagination, the process of drawing a rose can be enjoyable for kids. It’s also important to remember that children learn and progress at different rates, so be patient and encouraging throughout the process.
As a reminder, it’s always good to emphasize that there’s no such thing as a mistake in art, just an opportunity to try something new. This will help children to feel more confident and less afraid of making errors. Additionally, encouraging kids to experiment with different coloring techniques, such as using colored pencils, markers, or paint, can also make the process more fun and enjoyable.
Overall, drawing a rose can be a great way to teach children about art, creativity, and self-expression. And with some guidance, practice and patience, children can learn how to draw a rose easily and have fun with the process. So, grab some paper, pencils, and let the kids start creating their own beautiful roses.
More videos:
- How to draw an eye easy
- How to draw a pineapple
- How to draw grapes for beginners
- How to draw Spiderman easy
Keywords:
how to draw, drawing, easy drawing, learn to draw, simple drawing ideas, simple drawing, drawing ideas,
things to draw, stuff to draw, how to draw Rose, Rose drawing, easy Rose drawing, how to draw Rose step by step.


