How to draw a plane step by step
In today’s article, we will learn how to draw a plane step by step, but before we draw, we have to know some important details about the plane and what it is and the most important information about it during the following lines.
What do you know about the history of planes?
The history of aviation goes back several centuries ago, but the nineteenth century is considered the beginning of the first successful and safe air flight, and it was carried out by air balloon.
How to draw a plane step by step?
Do you think that teaching drawing is difficult? Would you like it? Do you want to draw anything cool? What do you think of a complete course consisting of 10 lessons to learn drawing from scratch to professionalism? It’s here with all your drawing info, secrets, photos and videos in one place.
Step 1: how to draw a plane

In the first step of drawing the plane, we draw the structure of the plane, and add the wing on the right side of the plane.
Step 2: how to draw a plane
We draw the small wings at the back of the plane, by drawing straight lines, one complementing the other.
Step 3: how to draw a plane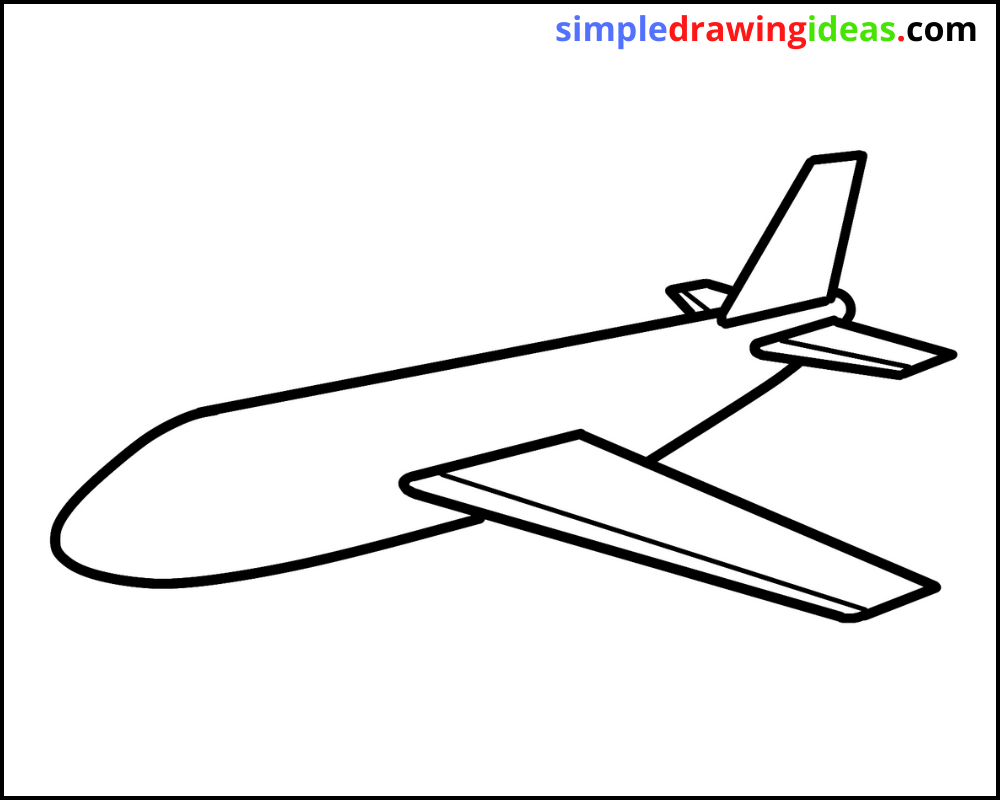
In this step, we draw the second wing on the left side of the plane, and we also draw the glass in the cockpit. And we add a slash at the top of the plane.
Step 4: how to draw a plane

We draw the windows in a straight line, by drawing small circles of similar shape and size, and we also draw the door of the plane and the engine under the right wing of the plane.
Step 5: how to draw a plane

After we finished drawing a beautiful and simple plane, we color it with beautiful colors as you can see in the picture.
For more drawing videos, you can visit my youtube channel: Easy Drawings.
What do you know about planes?
the plane is an aerial vehicle heavier than air, and it is one of the means of air transportation that flies either by sail, with one engine, or with several engines. It can fly in the air depending on the lifting force generated on its wings, or through the force of air drag.
Some aircraft are remotely controlled electronically and are called remote control aircraft, and the majority are controlled by a crew of four persons, the commander, the assistant, the navigator and a mechanical engineer , and the commander only in small aircraft.
The plane’s movement is divided into two parts:
- forward movement resulting from the engine thrust.
- The height upwards as a result of the design of the wings – which are usually fixed – and is called aerodynamic lift. It is fixed in most aircraft except for helicopters. Rotary blades are used to use the engine’s energy to fly.
Most planes need to travel a certain distance at a certain speed in order to achieve the necessary pressure difference on the wings for takeoff, but there are some warplanes that fly vertically by using the energy of the gases coming out of the engine and directing them downward, so they get an upward reaction that enables them to rise, and this method is called powered lift.
Hand drawing step by step
It is very similar to training the hand to play a musical instrument, except that it is much easier, as it is not necessary to perform difficult patterns of movements, all there is is the need to hold the pen in the correct way and move the hand lightly and in the correct way, and with a little practice you will master this matter as it suits you.
-
Hold the pens the right way
One of the most important mistakes that a large number of people make is holding the pen in a strange way, either by placing the hand near the tip of the pen or at a very far distance from it, and both things make the task of controlling the pen, the sharpness of the line and the degree of color very difficult.
The right place is in the middle between the previous two spaces and a little closer to the head, with the pen tilted at a changeable angle so that you can adjust the thickness of the line you draw.
-
Move the hand from the wrist
Holding the pen correctly or incorrectly does not matter when you cannot move your hand in the right way, that is, when you make your wrist the fulcrum on the table, and therefore it is difficult to move it. What you move is the comb.
-
Do not apply too much pressure
The intended pressure here is the pressure of the fingers on the pen and the pressure of the wrist downwards to fix the hand on the table. In it to teach drawing.
So you should always remind yourself and practice to ease your grip on the pen and reduce the pressure of the hand downward, and you may find this difficult at first, but it is easier than you imagine after practicing it several times and after noticing the positive difference it makes.
-
Back and forth control
To do this as you are used to, that is, you have to hold a paper and a pen and work on coloring a spot by the way the pen goes and sticks on the paper, and then another spot by moving the pen in one direction. Of course, you noticed the difference between the first and second method in terms of color sharpness and line thickness.
And both things are used, but one of them may be what you do permanently, so you have to determine which style is your usual style and then practice the other style until you can master it. In some paintings you will need strong dark lines and others you will need smooth light tones.
Basic and solid steps for drawing step by step
-
Warm up before each time
The secret is the warm-up, in that you have been able to control the pen, the amount of pressure, the degree of the lines and their flow, so you should not ignore the warm-up period, as it is what will guarantee you the success of any line that you will draw and then get wonderful paintings.
-
Clean the painting from traces of drawing
All you have to do is either rely on the regular eraser or the paste and get rid of the traces on the background of the drawing and the large areas, and rely on the pen eraser or the paste after giving it a precise shape to clean the edges and fine areas, and then by passing the napkin gently or by passing the large soft brush you can get rid of eraser effects.
More videos:
- How to draw a star for kids
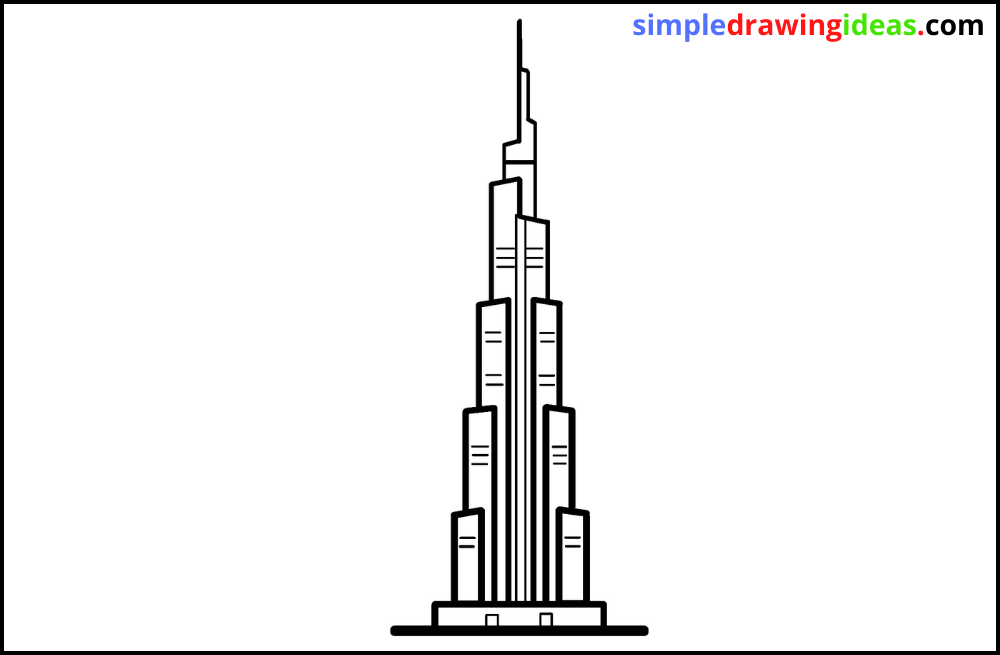
- How to draw Burj khalifa tower
- How to draw a Flower
- how to draw a plane step by step
Keywords:
how to draw, drawing, easy drawing, learn to draw, simple drawing ideas, simple drawing, drawing ideas,
things to draw, stuff to draw, how to draw a plane, plane drawing, easy plane drawing, how to draw a plane step by step.