In this drawing lesson, you will learn how to draw a fruit basket step by step.
This simple instruction will consist of six steps.
For more drawing videos, you can visit my youtube channel: Easy Drawings.
Drawing a fruit basket can be a fun and rewarding experience for artists of all skill levels.
It allows you to practice your sketching and shading techniques while also creating a colorful and visually appealing piece of art
When drawing a fruit basket, it’s important to start with a rough outline of the basket itself.
This will give you a basic shape to work with and help you visualize the final product.
Once the outline is complete, you can begin to add details such as the handle and woven texture of the basket.
This will make the basket look more realistic and give it a sense of depth.
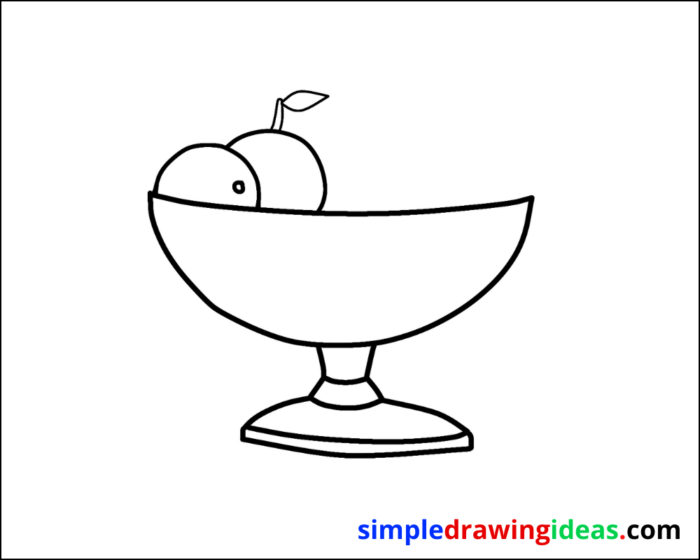
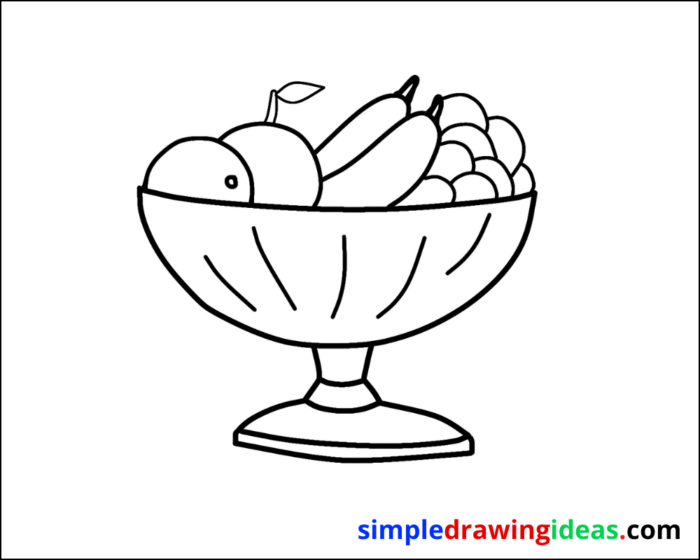
Next, sketch in the fruits you would like to include in the basket.
This could be anything from apples and oranges to bananas and grapes.
Each fruit will have its own unique shape and texture, so take your time to get the details right.
Once the fruits are sketched in, use shading techniques to give them a more three-dimensional appearance.
This could include adding highlights and shadows to make the fruits look round and plump.
Finally, use different colors to fill in the fruits and the basket.
This will give your artwork a more realistic look and make it pop off the page.
Remember to pay attention to the lighting and use colors that complement each other to create a cohesive and visually appealing piece.
How to draw a fruit basket
drawing a fruit basket can be a fun and creative experience that allows you to express your artistic side while also learning new techniques.
With a bit of practice and patience, you’ll be able to create a beautiful and realistic fruit basket that you’ll be proud to display.
Materials
- Pencil
- Paper
- Eraser
- Coloring supplies
Time needed: 30 minutes.
PART1
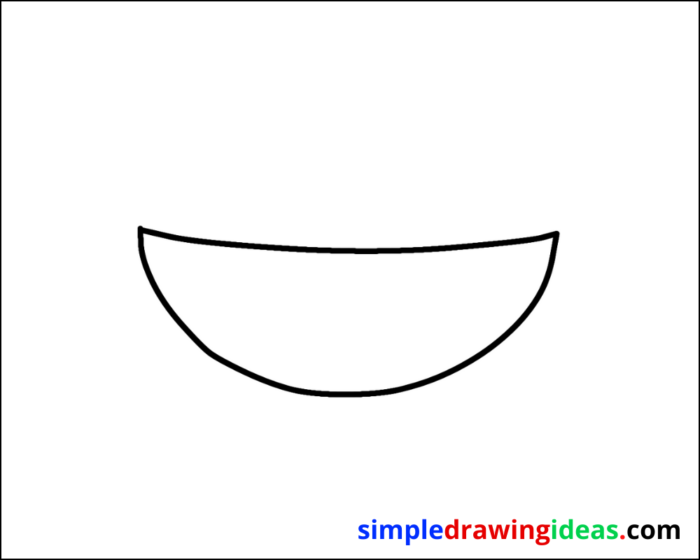
Sketch the vase by outlining its shape with smooth and fluid lines. Use the pencil to create a rounded and low-shaped vase.
PART 2
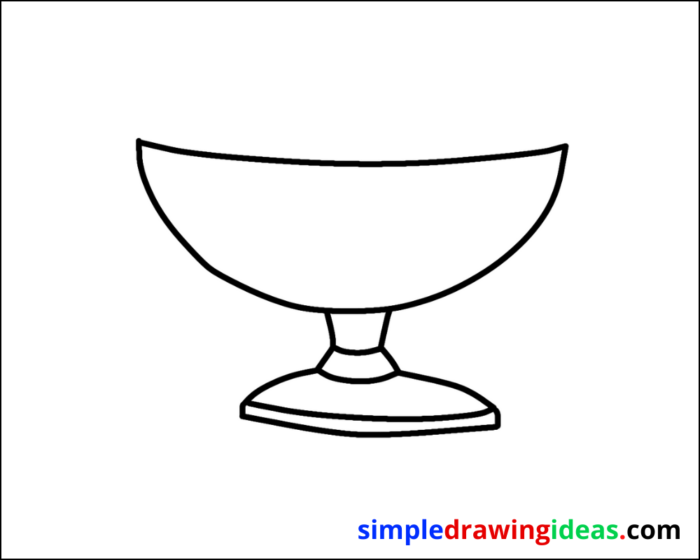

part 5
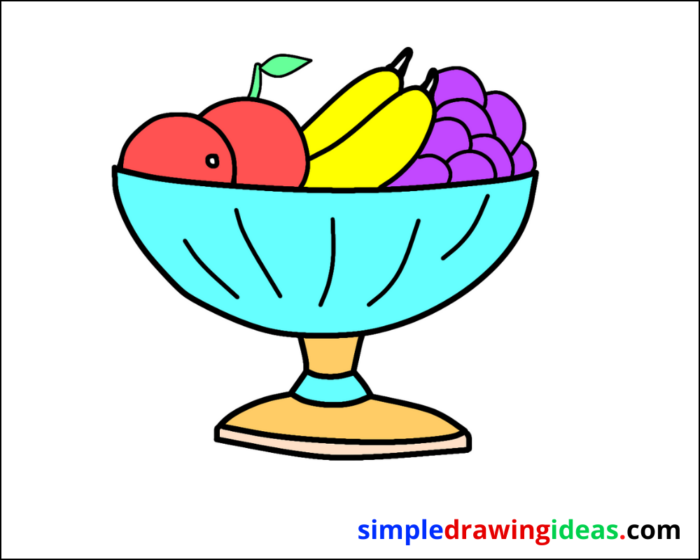
Fruit basket drawing
What are some tips for adding details to the basket, such as the handle and woven texture?
- Start by sketching the basic shape of the basket.
- Use reference images or real baskets as a guide to help you understand the details of the handle and woven texture.
- To create the handle, sketch two parallel lines, one on top and one at the bottom, and then connect them with diagonal lines.
- To create the woven texture, use small, closely spaced lines to give the impression of woven fibers. You can also use cross-hatching or other shading techniques to add depth and dimension to the basket.
- You can also use different pencils with varying lead hardness to achieve different textured effects.
- Keep in mind the light source and apply the shadow where necessary to make the handle and woven texture look more realistic.
- Practice and experimentation can help you find the technique that works best for you.
- As you work, step back from your drawing to look at it from different angles, which can help you spot any areas that need more work.
How can you make the background of a fruit basket drawing interesting and complement the overall composition?
You can use different elements to add interest to the background, such as a tablecloth or a patterned wall.
Playing with the lighting to create interesting shadows and highlights can also add depth and dimension to the background.
Using different textures can also help to make the background more interesting,
such as a wooden table or a tile floor.
You can use different colors in the background that complement the colors of the fruits and the basket,
creating a cohesive look.
Incorporating other elements such as flowers or leaves can add a natural touch to the background and complement the overall composition.
You can also use different techniques such as layering, blurring,
or blending to create a sense of depth and movement in the background.
You can also experiment with different composition techniques
such as the rule of thirds to create a visually balanced and dynamic background.
It’s also important to keep the overall composition and message of your artwork in mind
when designing the background, it should support and enhance the focal point of the fruit basket.
Conclusion
More videos:
Keywords:
how to draw, drawing, easy drawing, learn to draw, simple drawing ideas, simple drawing, drawing ideas,
things to draw, stuff to draw, how to draw a fruit basket, fruit basket drawing,
easy flower drawing, how to draw a fruit basket step by step.