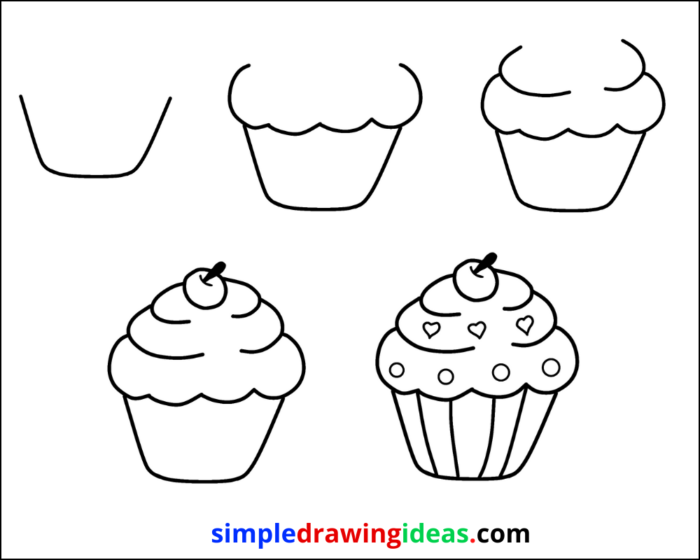
In this drawing lesson, you will learn how to draw a cupcake step by step.
This simple instruction will consist of four steps.
For more drawing videos, you can visit my youtube channel: Easy Drawings.
Cupcakes are a popular delicacy that appeals to individuals of all ages, and can be found in an array of flavors, hues, and embellishments, making them suitable for any type of celebration.
Whether you’re hosting a party, or just looking for a sweet treat, cupcakes are sure to please.
Not only are they delicious to eat, but they can also be fun to make and decorate.
In this article, we will be providing step-by-step instructions on how to draw a detailed and realistic cupcake illustration.
We will be covering everything from the cupcake liner to the final details, making it easy for anyone to follow along.
We will start by drawing the cupcake liner, which serves as the base for the cupcake.
Next, we will add the cupcake itself, followed by the frosting, which is one of the most important parts of the cupcake.
We will then add details to the frosting, such as small, curved lines to create texture and dots or stars to create a decorative effect.
We will also show you how to add a cherry on top, which is the final touch that brings the cupcake to life.
Finally, we will show you how to add the final details, such as sprinkles or other decorations, to make your cupcake illustration complete.
So, whether you’re an artist looking to improve your skills or simply looking for a fun and creative hobby, drawing a cupcake can be a fun and enjoyable experience.
How to draw a cupcake step by step
With our step-by-step instructions, you’ll be able to create a detailed and realistic cupcake illustration in no time.
So, grab your pencil and paper, and let’s get started!
Materials
- Pencil
- Paper
- Eraser
- Coloring supplies
Time needed: 20 minutes.
- Step 1
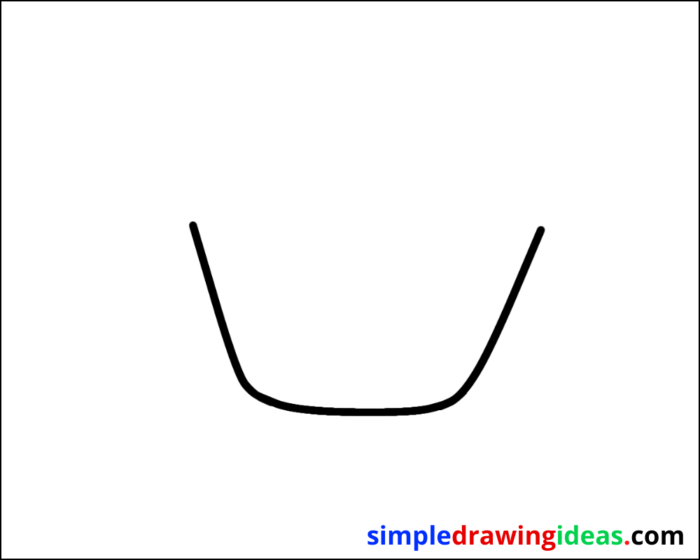
Create the base of the cupcake.
Draw a horizontal line at the bottom of the cupcake shape to form the bottom outline.
This step should be simple and straightforward.
Draw the sides of the cupcake.
Draw two vertical lines on either side of the cupcake shape, creating the illusion of depth.
- Step 2
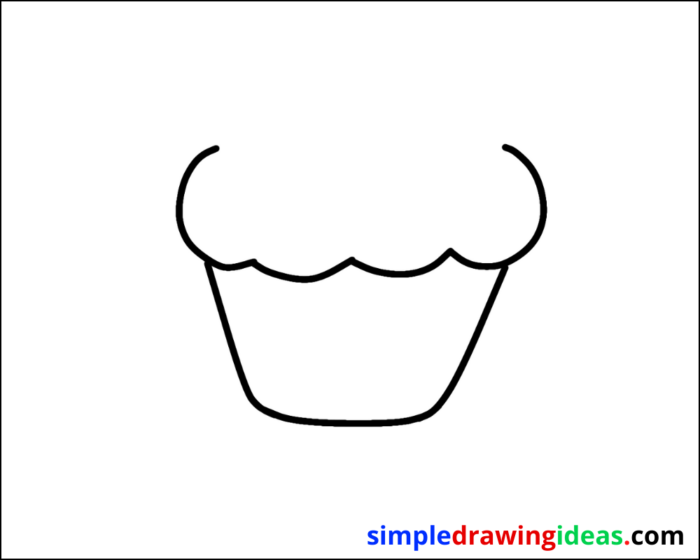
Include the cupcake top.
Draw a curved line on top of the cupcake to represent the top of the cupcake.
- Step 3
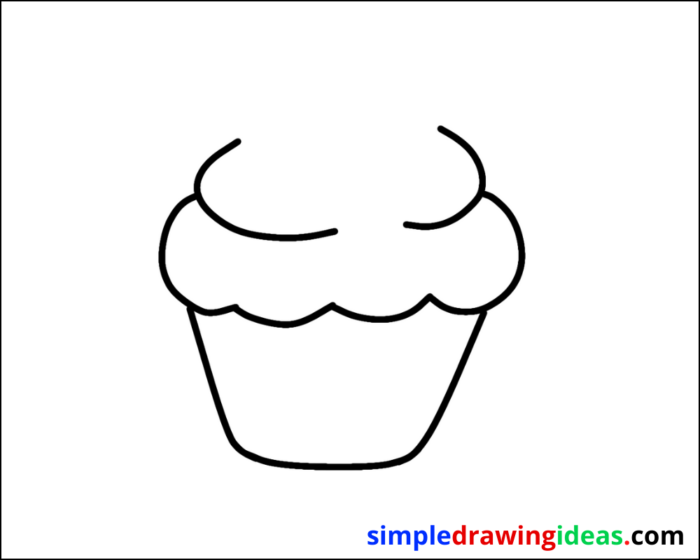
add lines inside on the cupcake
- Step 4
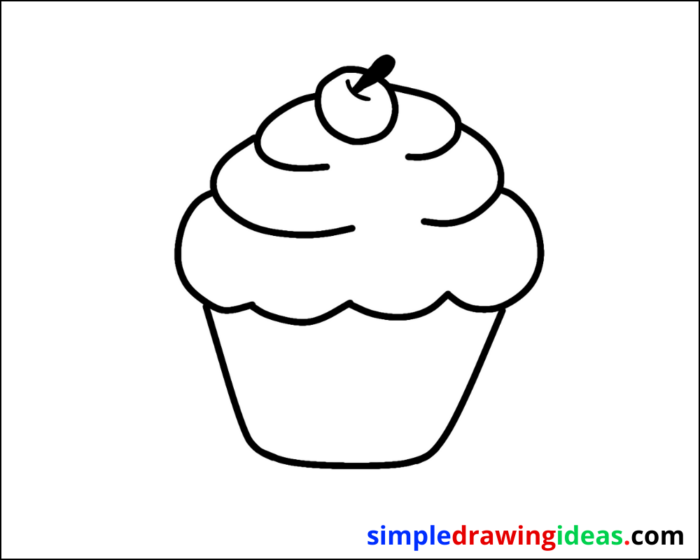
Using rounded shapes, add flour chocolate chips to the top of the cupcake.
- Step 5
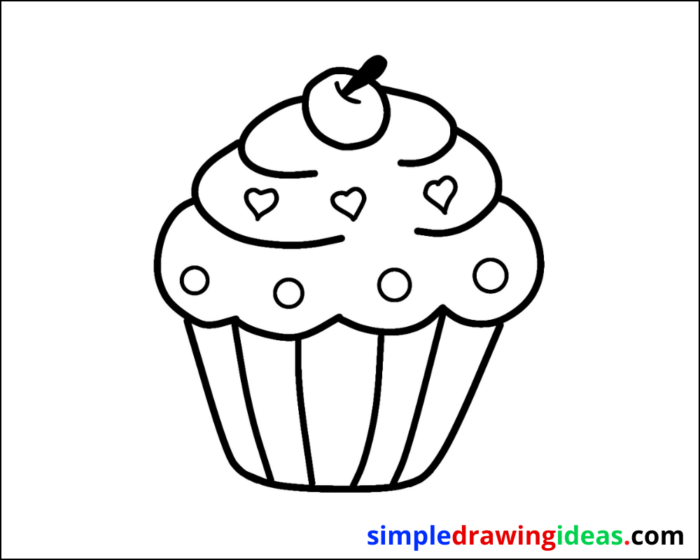
How can you make a cupcake drawing more unique and creative?
There are several ways to make a cupcake drawing more unique and creative:
Experiment with different colors and patterns: You can use a variety of colors and patterns to make your cupcake drawing stand out.
Try using different shades of the same color or mix and match different colors to create a unique look.
Add unique decorations: Instead of traditional sprinkles or chocolate chips,
try adding unique decorations such as flowers, stars, or hearts to your cupcake drawing.
Use different textures: Experiment with different textures, such as rough or smooth, to create a more interesting and dynamic cupcake drawing.
Play with the composition: Instead of drawing a traditional cupcake,
try drawing it from an unusual angle or incorporate other elements into the drawing, such as a background or other objects.
Use different materials: Instead of drawing with a pencil, try using other materials such as paint, markers, or colored pencils to create a different look and feel to your cupcake drawing.
Add a story or a theme: you can draw a story or a theme in your cupcake drawing.
For example, you can draw a cupcake with a character on it or a cupcake with a message.
By experimenting with different techniques and materials, you can create a unique and creative cupcake drawing that truly stands out.
What is the best way to depict the cherry on top of a cupcake drawing?
There are a few ways to depict the cherry on top of a cupcake drawing, and the best way will depend on your individual style and preferences.
Here are a few options:
Simple circle: The simplest and most straightforward way to depict a cherry on top of a cupcake is to draw a small, round circle on top of the frosting.
This is a quick and easy way to add a cherry to your cupcake drawing.
Detailed cherry: For a more detailed and realistic cherry, you can draw a small,
round shape for the cherry itself, and then add details
such as small circles or lines to depict the cherry’s seeds.
You can also use different shades of red to create a more lifelike look.
Cherry with stem: To add even more realism to your cherry,
you can include a stem and leaves.
Draw a thin, curved line for the stem and add small, leaf-like shapes at the top of the stem.
Use different colors: You can use different colors to draw the cherry.
For example, you can use red and green to draw the cherry with stem and leaves.
Ultimately, the best way to depict a cherry on top of a cupcake drawing will depend on your individual style and the level of detail you want to include in your illustration.
Experiment with different techniques and styles to find the one that works best for you.
Conclusion
In conclusion, drawing a cupcake can be a fun and enjoyable experience.
With a few simple steps, you can create a detailed and realistic cupcake illustration.
We have covered everything from the cupcake liner to the final details,
making it easy for anyone to follow along.
Remember to have fun and experiment with different colors and designs to create your own unique cupcake masterpiece.
Additionally, you can make your cupcake drawing more unique and creative by experimenting with different
colors, patterns, decorations, textures, compositions, materials and even stories or themes.
And when it comes to the cherry on top, you can choose from different options like a simple circle,
detailed cherry, cherry with stem or even different colors.
The key is to have fun and let your creativity flow. Happy drawing!
